
Valheim
Check a Valheim world move before reopening your server
Check the selected world, protect the original saves and test a restart before reopening your Valheim server.
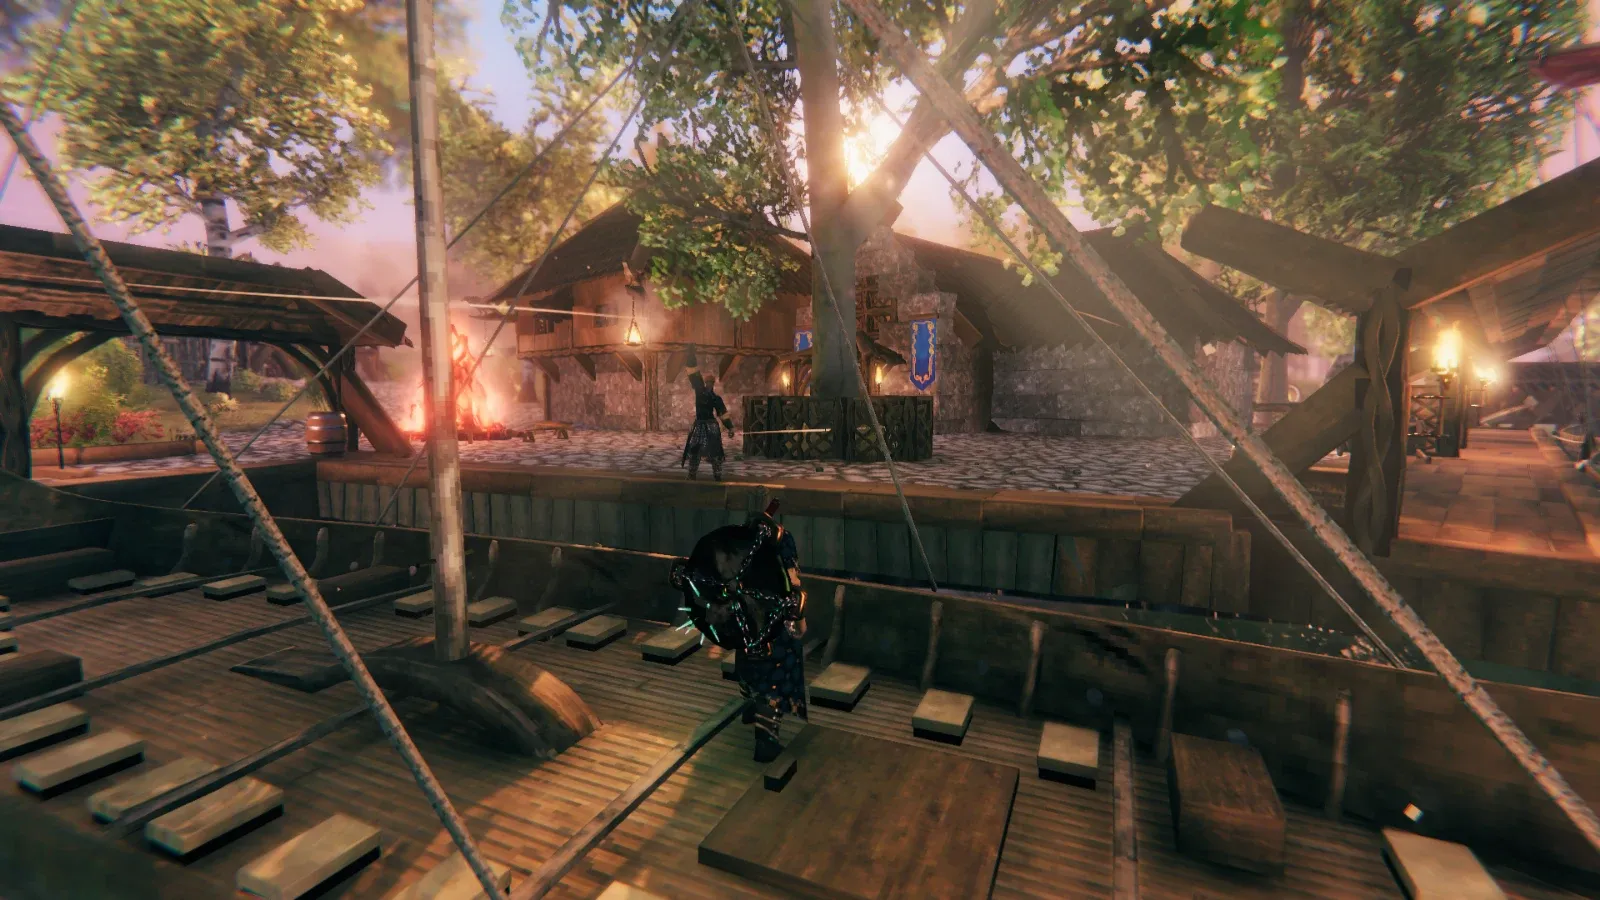
You move a Valheim world onto a server, join with your usual character, and find an empty landscape. Keep the original saves untouched while you work out which world the server loaded. Repeated uploads and new world creation make that investigation harder.
Record what you expect to find
Before moving anything, write down the world name and choose two landmarks you can recognise: your main base and a distant outpost, for example. Take screenshots with map coordinates if you can. Ask another player to record a landmark too. These checks give you something more useful than “the server starts” when you test the move.
Choose a quiet maintenance window. Tell players when to disconnect and who will approve reopening. If someone keeps building on the old server after you copy the save, you will have two versions of the world to reconcile.
Check the selected world before uploading again
Iron Gate documents the -world startup argument as the name the dedicated server loads or creates. Check that value against your intended world. On managed hosting, inspect the available startup settings and console output; ask support to confirm the actual save directory if the panel does not expose it. Avoid guessing a container path from a desktop tutorial.
Save a copy of the current startup settings before changing them. If you find a spelling difference, correct that one setting, then test again. Keep each attempt in a short change log so another administrator can follow your work.
Protect the files before a test
Stop the server through its normal shutdown control and wait for the process to exit. Download a complete copy of the existing save directory and relevant configuration to your own computer. Label the copy with the world name, date and source server. Keep the original export separately from the files you intend to upload.
For a large transfer, compare file sizes after upload and calculate checksums where your tools support them. A completed progress bar only tells you that the transfer tool finished its job. You still need to check that you copied the files you intended and selected the right destination.
Reopen in two stages
Start with two trusted players. Visit your chosen landmarks, check the world identity, and make one small, reversible change away from important builds. Stop the server normally, start it again, and verify that the change survived. Record the result before inviting everyone back.
If you also changed the connection backend, test joining from outside your home network. Iron Gate distinguishes Steam networking from its crossplay relay. Follow its current connection guidance for the backend you selected rather than opening extra ports until something connects.
Keep a clear return path
If the landmarks or save check fail, close joins and preserve the failed attempt for inspection. Return to the untouched export and original settings as a matched set. Ask CloudExa support for help with the world name, timestamps and relevant console lines; remove passwords before sharing logs.
For the wider community plan, read planning a survival season while preserving progress.
Technical reference: Iron Gate’s dedicated-server guide. The maintenance checklist above is CloudExa’s suggested workflow; game updates may change startup options.